To start the RDM Scheduler, navigate to RDM | Scheduler | Start. The scheduler will load the scheduler tasks from the active RDM Scheduler Worksheet and proceed to schedule enabled tasks.
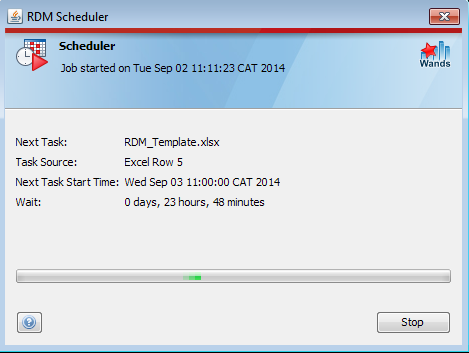
When the scheduler is running it display's the date and time the job was started, plus additional information regarding the next task scheduled to execute:
| Field Name | Value |
|---|---|
| Next Task | Name of the next RDM Template scheduled to execute. |
| Task Source | The Excel row number that stores the next task to execute. |
| Next Task Start Time | The start date and time of the next task to execute. |
| Wait | Amount of time in days, hour and minutes before the next task is executed. |
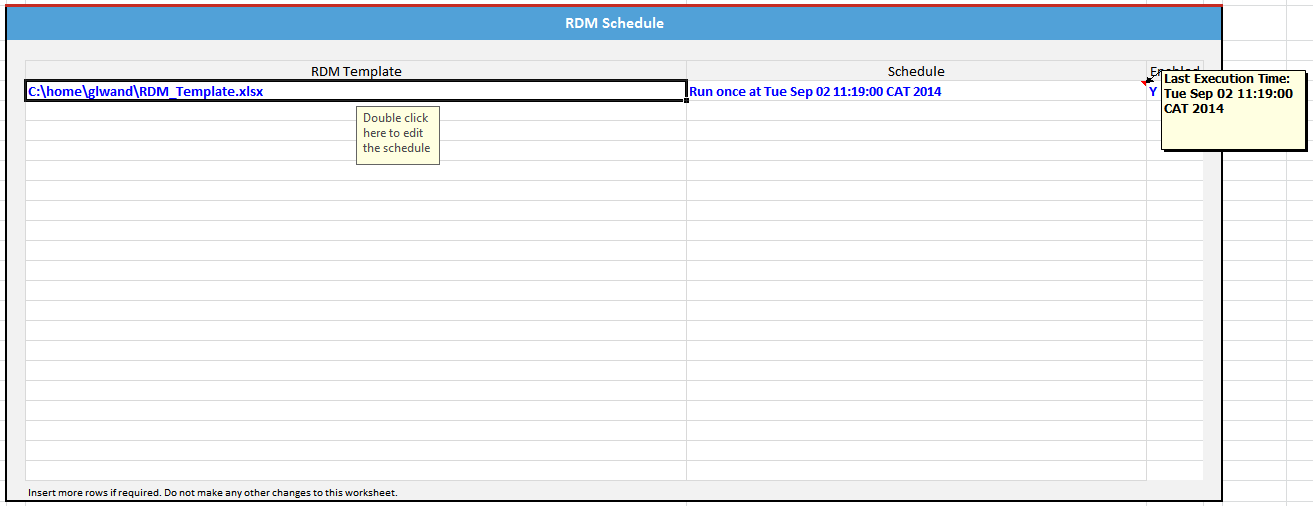
To stop the RDM Scheduler, select the Stop button, the scheduler will then update the RDM Scheduler template with the last execution time of all tasks that were executed during the running of the scheduler.
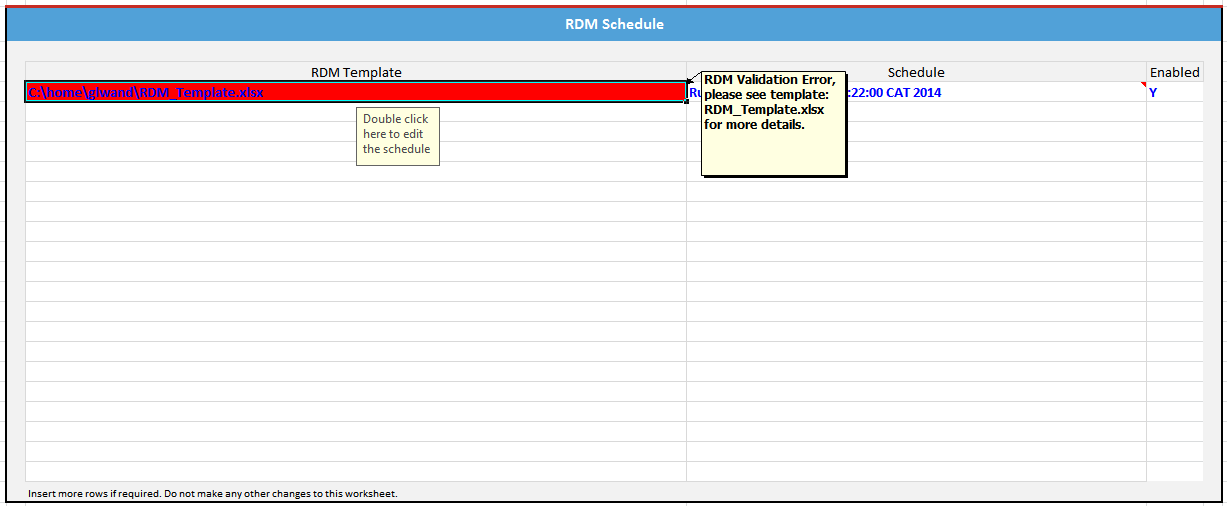
Any RDM Template that completes with an error will be indicated on the RDM Scheduler template by highlighting the specific row in red and including a note with the particular error.