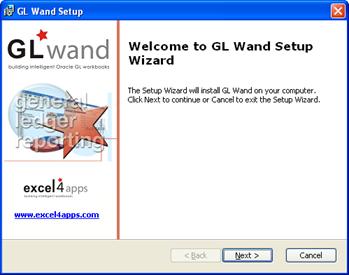
1. Unzip the GL Wand zip file and double click on the GL Wand.msi (Microsoft installer) to begin the installation.
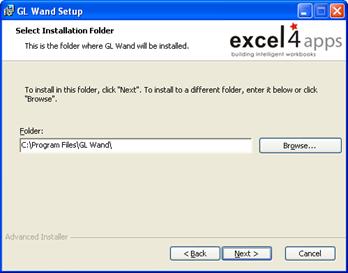
2. You will be prompted for an install location which you can modify or simply accept the defaults.
3. You might receive a message warning you that Excel should be closed during the installation. If Excel is open on your PC switch to it and quit the application. Then return to the installer and click “OK”.
If the installer is unable to locate a Microsoft Excel installation on your PC you will receive a warning at the end of the installation. You will then need to follow a manual process to activate the GL Wand add-in. The instructions for this manual process can be found in the Installation Problems section of this user guide.
4. The last screen of the install process will prompt you to "Launch GL Wand”
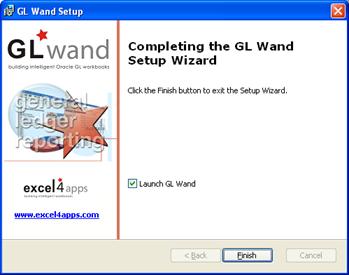
5. Leave this option ticked
6. Click the "Finish" button.
7. This will launch an Excel workbook "Demo.xls" which contains information and instructions on how to get you started with using the GL Wand.
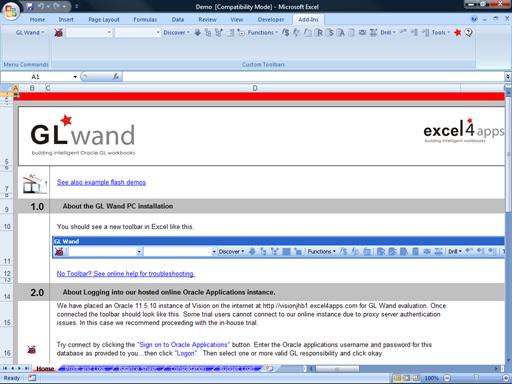
If you do remove the tick, you can launch this workbook manually from the GL Wand menu item on your Windows “Start” menu.
Once the "Demo.xls" workbook is launched it should open Excel. The GL Wand toolbar should appear. If the toolbar does not appear follow the instructions in the in the Installation Problems section of this user guide.
![]()
You should now be able to log on to our online Vision instance. Follow the instructions in the "Demo.xls" workbook to log on.